

Finally, I tried this $5000rmb bread recipe which many bakers give thumbs up for it's super soft texture. I have adpated and modified the recipe from Victoria Bakes and used my Kenwood breadmaker to knead both the starter dough and main dough. With the breadmaker, it is really easy as no hand kneading is required at all.
If you do not own a breadmaker, you can still try this recipe by hand kneading. However, you may have to knead longer than your usual bread recipe to achieve the window pane stage as this is a rather wet dough. You will also be tempted to add more flour as you knead due to the stickiness of the dough. Please avoid doing that as by adding more flour, your bread texture will not be as soft as it should be.
I have shaped my buns into caterpillars and tiger 巧虎 (a famous cartoon character origin from Japan) buns. The caterpillar pork floss buns were inspired by the caterpillar cookies which I made last week and the tiger 'an pan' (red bean paste) buns were requested by my little boy.
We love the buns as it is very soft and tasty. It remains soft even on the third day, this recipe is definitely a keeper!
$5000 starter dough bread recipe (using breadmaker to knead starter dough and main dough)
Starter dough
105g bread flour
45g cake flour
12g organic raw sugar
3g instant dry yeast
120g water
Main dough
30g organic wholemeal flour
30g cake flour
48g organic raw sugar
3/4 tsp salt
12g milk powder
45g egg
27g water
36g unsalted butter, softened
Note: for the organic ingredients, please refer to the photos here.
五千块老式面包食谱(面包机做酵头和主面团)
酵头:
面包粉 105克
低筋面粉 45克
有机原糖 12克
即发干酵母 3克
水 120克
主面团:
面包粉 90克
有机全麦面粉 30克
低筋面粉 30克
有机原糖 48克
盐 3/4小匙
奶粉 12克
蛋 45克
水 27克
无盐牛油 36克 (室温软化)
注:有机材料的包装,按这里看图片。
Methods 方法:
1. Place all starter dough ingredients into the breadmaker pan, select dough function and press start. (I select function 8 for my Kenwood BM250, it will knead for 5 minutes, rest for 5 minutes, knead another 20 minutes before proofing the starter dough for one hour.)
1。将所有酵头材料放进面包机盘里,选择面团程序,按启动键。(我选择8- 面团做法 ,过程1.5小时)。

2. After the starter dough is proofed, use a rubber spatula, push it to one side, add in all the ingredients (except butter) into the breadmaker pan. select dough function and press start. (function 8 for Kenwood BM250, same as step 1). After 5 minutes of kneading, add in the butter.
2。酵头面团发酵后,用塑胶刮刀推一边,加入所有主面团材料后,(除了牛油)按启动键。面包机搅拌5分钟后,加入牛油。

3. When bread dough is proofed, take out from the pan, punch it down to release the air in it. Divide into smaller doughs and shape accordingly.
3。面团发酵后,取出,按出空气,切割整形。
To make caterpillar buns: Weigh 60g dough, divide into four portions, roll into balls and stick together. Use chocolate chips for eyes.
毛毛虫面包做法:切割60克面团,分成四份,揉成圆形, 粘在一起。用巧克力豆做眼睛。
To make An pan tiger buns: Weigh 60g dough, pinch out two smaller doughs for ears. Wrap with 50g red bean paste. (or your favourite fillings) Use chocolate chips for eyes and nose.
巧虎面包做法:切割60克面团,取出两个小面团做耳朵。包入50克红豆沙(或你喜欢的馅料)。用巧克力豆做眼睛和鼻子。

4. Proof the shaped buns for 40 mins, brush the surface with fresh milk twice.
4。整形后的面包,再发酵40分钟,以奶水刷表面两次。

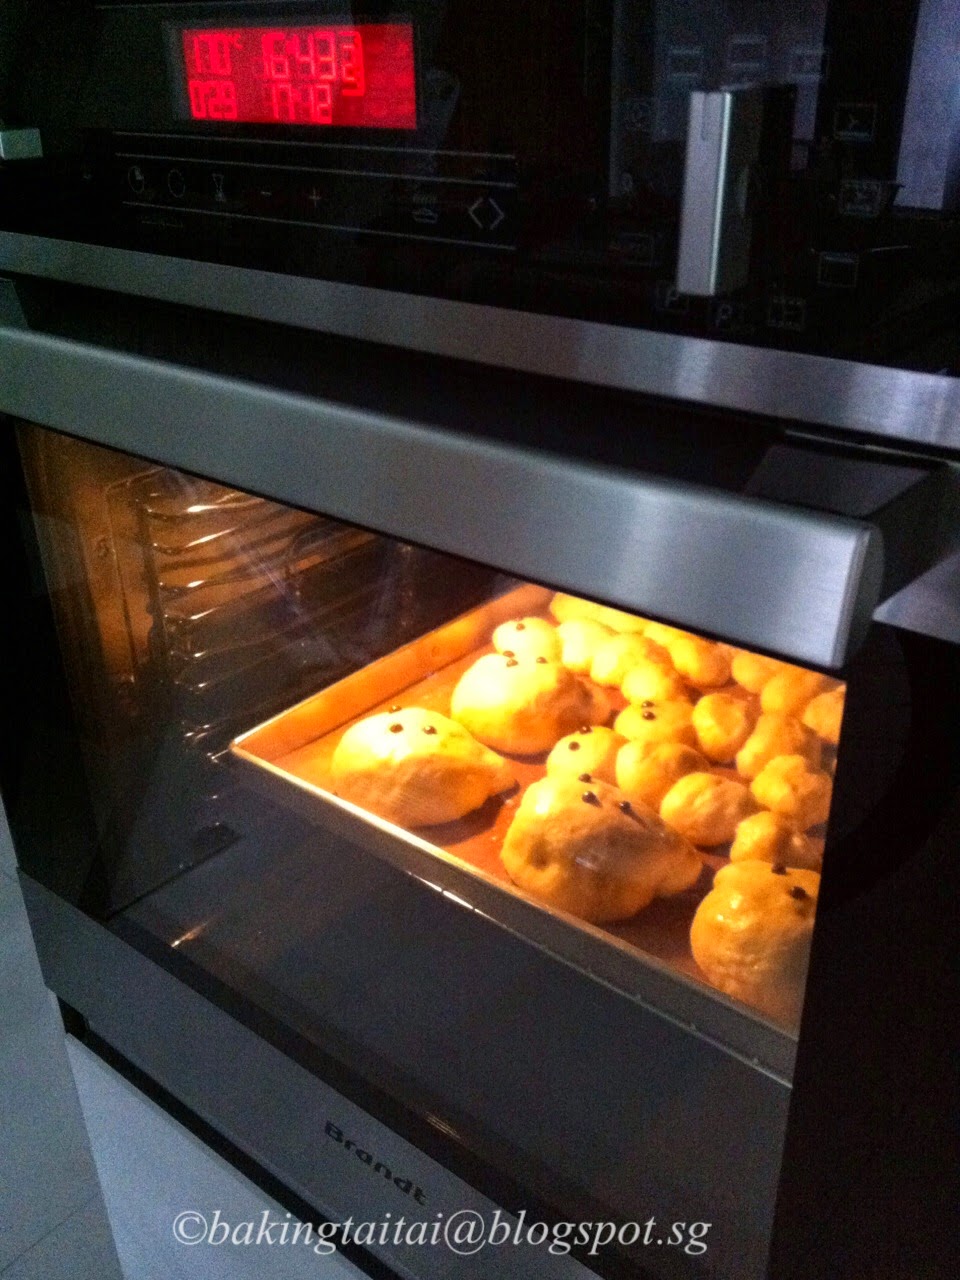
5. Preheat the oven 170 degrees top and bottom heat with fan, bake for about 20 minutes.
5。烤箱预热后,以上下火风伞170度烘烤约20分钟。

6. Remove from oven, transfer to cooling rack.
6。烤好移至铁网架上放凉。
7. Let cool completely, use melted chocolate to draw the facial features.
7。完全凉透后,才用溶化巧克力装饰。
Note: For the caterpillar buns, slit the bodies open with a butter knife, spread some butter, stuff in some pork floss. Spread more butter on the surface, and put more pork floss on it.
注:毛毛虫面包,用牛油小刀切开身体,涂牛油在面包里,加入肉松。表面上涂些牛油,再放多一些肉松。

Update 更新 22 March 2014 :
If you prefer an easier recipe using direct dough method which also produces soft and fluffy bread, check out this recipe here.
如果喜欢简单的直接面团做法,到这里去看看吧!
© Copyright 2014 bakingtaitai.blogspot.sg
1。将所有酵头材料放进面包机盘里,选择面团程序,按启动键。(我选择8- 面团做法 ,过程1.5小时)。
2. After the starter dough is proofed, use a rubber spatula, push it to one side, add in all the ingredients (except butter) into the breadmaker pan. select dough function and press start. (function 8 for Kenwood BM250, same as step 1). After 5 minutes of kneading, add in the butter.
2。酵头面团发酵后,用塑胶刮刀推一边,加入所有主面团材料后,(除了牛油)按启动键。面包机搅拌5分钟后,加入牛油。
3. When bread dough is proofed, take out from the pan, punch it down to release the air in it. Divide into smaller doughs and shape accordingly.
3。面团发酵后,取出,按出空气,切割整形。
To make caterpillar buns: Weigh 60g dough, divide into four portions, roll into balls and stick together. Use chocolate chips for eyes.
毛毛虫面包做法:切割60克面团,分成四份,揉成圆形, 粘在一起。用巧克力豆做眼睛。
To make An pan tiger buns: Weigh 60g dough, pinch out two smaller doughs for ears. Wrap with 50g red bean paste. (or your favourite fillings) Use chocolate chips for eyes and nose.
巧虎面包做法:切割60克面团,取出两个小面团做耳朵。包入50克红豆沙(或你喜欢的馅料)。用巧克力豆做眼睛和鼻子。
4. Proof the shaped buns for 40 mins, brush the surface with fresh milk twice.
4。整形后的面包,再发酵40分钟,以奶水刷表面两次。
5. Preheat the oven 170 degrees top and bottom heat with fan, bake for about 20 minutes.
5。烤箱预热后,以上下火风伞170度烘烤约20分钟。
6. Remove from oven, transfer to cooling rack.
6。烤好移至铁网架上放凉。
7. Let cool completely, use melted chocolate to draw the facial features.
7。完全凉透后,才用溶化巧克力装饰。
注:毛毛虫面包,用牛油小刀切开身体,涂牛油在面包里,加入肉松。表面上涂些牛油,再放多一些肉松。
Update 更新 22 March 2014 :
If you prefer an easier recipe using direct dough method which also produces soft and fluffy bread, check out this recipe here.
如果喜欢简单的直接面团做法,到这里去看看吧!
“It takes time and effort to compose or translate recipes, I would appreciate it if you do not copy and pass it off as your own recipe. If you wish to share or adapt any of the recipes that I have posted in this blog, please provide a link back to the relevant post here. Thank you.”
"编写或翻译食谱需要时间和精力的,请不要复制或将它作为自己的
© Copyright 2014 bakingtaitai.blogspot.sg
15 comments :
I like the idea of slitting open the caterpillar and spreading butter on it :p
What a joy to watch these cuties bake in the oven
thank you very much for ur translate recipe and picture
You are welcome Pei San! :)
Hi Cheryl,
Usually recipes would apply egg glaze on bread dough before baking. However, I'm reading you're brushing with fresh milk twice. What's the difference in outcome compared to egg glaze? Would brushing milk give a softer crust on the bread?
Thank you.
Hi, (can't address you as you did not leave your name behind)
Brushing with egg glaze does gives a different effect compared with milk wash. Egg glaze is for shine whereas milk wash is for browning. HTH! :)
Hi Cheryl
how many buns can I make with this recipe ?
Hi Sing Yee Fong, sorry for the late reply as I just returned from my holidays. With this recipe, I can make ten buns using 60g dough each.
Hi, Cheryl. I am your baking fans. I have tried to do this bread, but facing difficulties to shape it, even hard to roll it, dough is too sticky. Follow exactly the ingredients without any changes, just wondering what cause it
Hi Cheryl
can I use warm water for both starter n main dough ?
for d oven can I just use top n bottom heat without fan ?
Hi Sandy, the dough from this recipe is rather sticky, you can grease your hand generously with cooking oil for easier handling. Sometimes when recipe ingredients are followed exactly in amount, it will result in difference unless you use exactly the same brand of ingredients as different brands of ingredients have different composites.
Hi Sing Yee Fong, it is not necessary to use warm water, sometimes warm water may be too high in temperature and there's risk in killing the yeast. Sure, you can bake without fan forced, just increase the temperature 10-20 degrees depending on your oven.
Tks Cheryl for sharing
Hi Cheryl, appreciate your feedback. Will try to do it again one day.
Hi Cheryl, how long do we have to knead the starter dough? Ard 25 to 30 mins? Also can I knead the starter dough put in fridge till next day then add tog with main dough?
Don't need 25 mins as long dough comes together with no more seen flour will do. No problem to leave in fridge to ferment slowly.
Post a Comment